
|

|

|
Air Dry Clay Beads
There are many types of air dry clay available for making clay beads. There are also many ways to make the clay yourself, too!
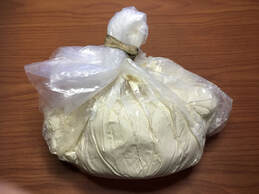
Remember, as soon as your clay gets out into the air, it will start drying. Whichever way you decide to get your clay, remember that you need to keep your clay from drying out, by keeping the parts you aren't using in a plastic baggy, wrapping a your clay with a wet cloth or plastic wrap, and moistening it every once in a while.
To keep the clay you are working with from drying out, keep a little cup of water nearby to moisten your finger, then rub a little on your clay when it seems to be getting too dry. Just don't get it too wet, or it will get sticky & gooey. If it gets too gooey, rub a little baby powder or baking soda on your hands.
What you will need:
- Air Dry Clay (homemade, or store bought)
- Skewer, or metal stick
- Wax paper
- Plastic wrap
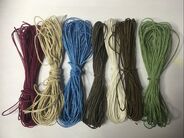
- Cord, ribbon, or string
- Cup with a little water
- Baby powder, or baking powder
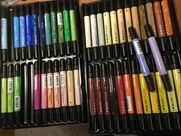
- Paint or markers
- Optional: accent beads
|

|
|
|
|

|
|
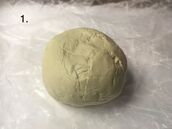
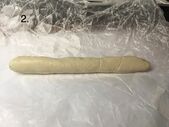
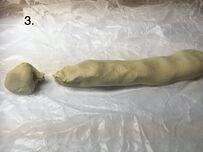
How to make air dry clay beads:
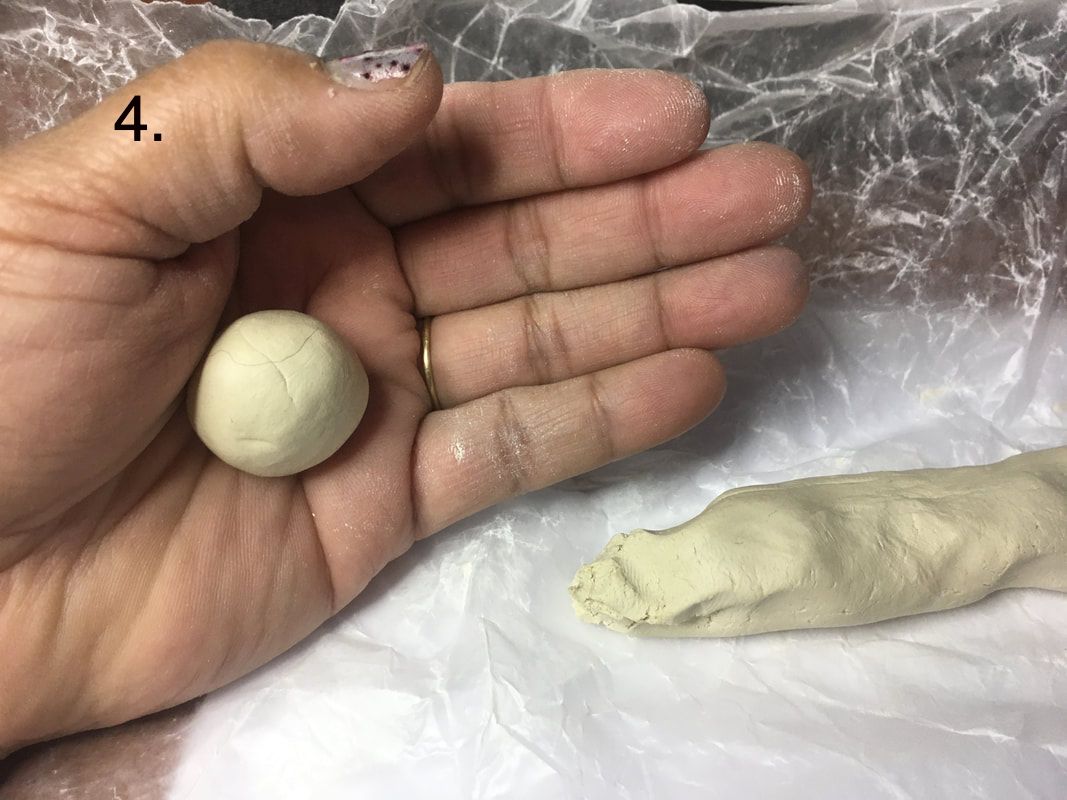
1. Make your clay soft and workable by kneading and squeezing with your hands 2. Then roll it into a long "snake" 3. Break a little of piece off for one bead 4. Roll in the palm of your hand into a ball |
|
|
|
|
|
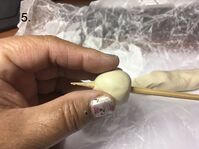
5. Push the small ball onto a skewer...be careful not to poke your hand with the pointy part.
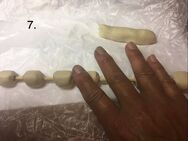
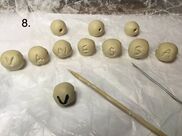
6. Fit as many as you can on the skewer, not touching 7. Beads will be a little squished, so you can lightly roll the beads back and forth and reshape 8. Remove and reshape if needed, being careful not to squeeze hole too small for your string |
|

|
|
|
Coloring your beads:
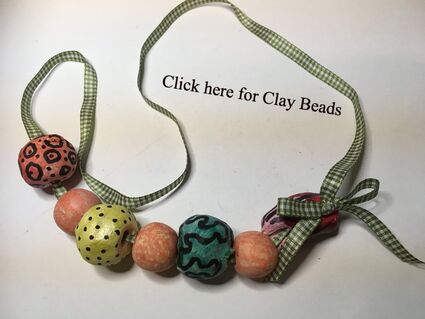
First, I'd better let you know, I didn't make all of the beads you see. Some of the beads and finished necklaces were left behind by my students, when we did this project. So, I can't take credit for everything you see. I just painted the ones that were not painted and strung up the necklaces that weren't finished
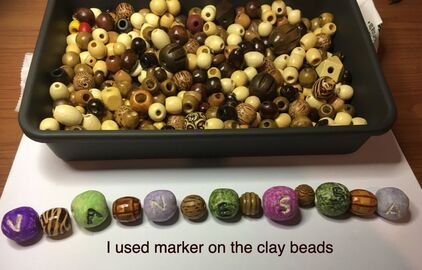
It's best to wait until your beads are dry before you put color on your beads. If the clay is cold, your beads are not dry yet. You can color your beads with acrylic paints, watercolor paints, tempera paints, or markers.
If you watched any of the air dry clay DIY videos, some of them suggest putting color in the clay while it is being made. Personally, I like to paint the clay AFTER I have created my clay objects.
You won't be able to let your finished beads get wet, because the clay will just get gooey and dissolve. You can try spraying, or brushing on a sealant, to keep it from getting gooey, but you still won't be able to soak the beads. This is because you won't be able to seal the inner hole area without clogging the hole, and the string won't be able to go through if clogged.
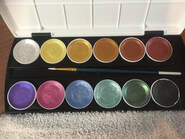
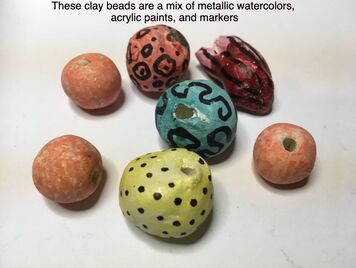
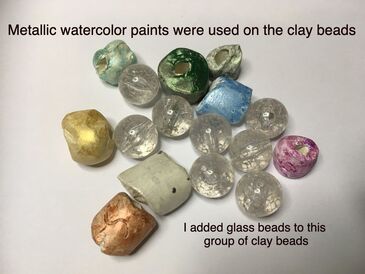
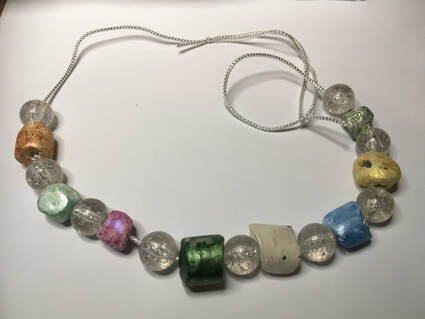
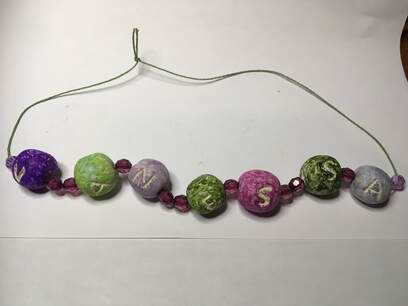
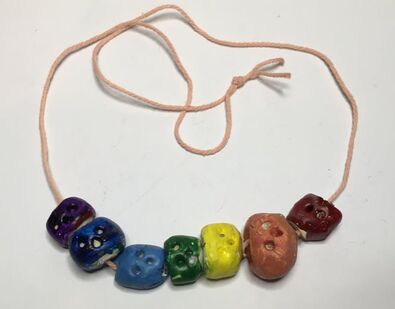
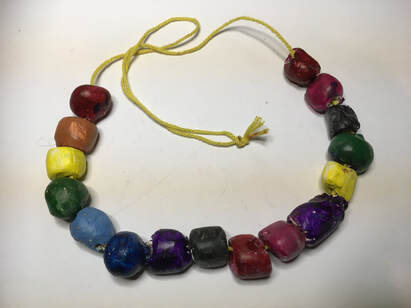
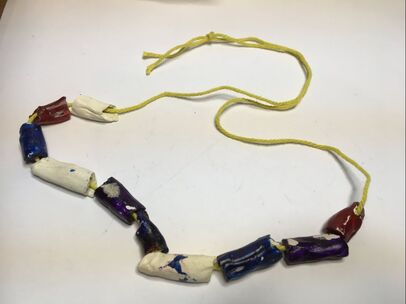
In these pictures, I used metallic watercolor paints, semi-moist watercolor paints, acrylic paints, and markers. I mixed other kinds of beads in with some of the clay beads. As, you can see, I also carved into some of the beads, and drew designs on some of the beads, after the clay dried.
First, I'd better let you know, I didn't make all of the beads you see. Some of the beads and finished necklaces were left behind by my students, when we did this project. So, I can't take credit for everything you see. I just painted the ones that were not painted and strung up the necklaces that weren't finished
It's best to wait until your beads are dry before you put color on your beads. If the clay is cold, your beads are not dry yet. You can color your beads with acrylic paints, watercolor paints, tempera paints, or markers.
If you watched any of the air dry clay DIY videos, some of them suggest putting color in the clay while it is being made. Personally, I like to paint the clay AFTER I have created my clay objects.
You won't be able to let your finished beads get wet, because the clay will just get gooey and dissolve. You can try spraying, or brushing on a sealant, to keep it from getting gooey, but you still won't be able to soak the beads. This is because you won't be able to seal the inner hole area without clogging the hole, and the string won't be able to go through if clogged.
In these pictures, I used metallic watercolor paints, semi-moist watercolor paints, acrylic paints, and markers. I mixed other kinds of beads in with some of the clay beads. As, you can see, I also carved into some of the beads, and drew designs on some of the beads, after the clay dried.
|
|
|
Stringing your beads
You will need to make your string at least 24" long for it to fit over an adult's head. Just measure around your head with the string or ribbon you will be using and give it about 4 more inches. You will need the extra length for making your knots. I have linked a YouTube video, on how to string a necklace with sliding knots, in case you don't want to make your necklace hang too low.
|
|
|
|
|
|
